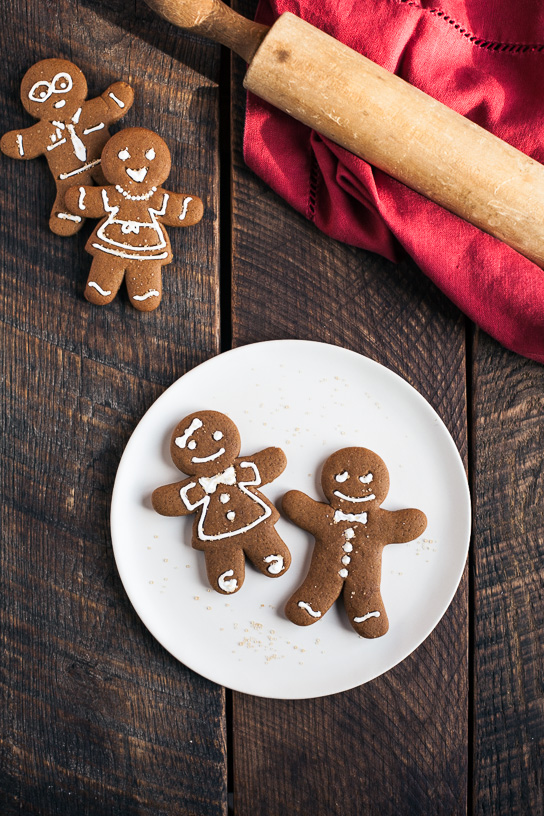
We hosted a gingerbread house making party over the weekend and rather than making the houses from scratch like I did last year (fun, but totally crazy), we bought kits and just jazzed them up with some of our own candy. I did however make gingerbread cookies so that the kids could still eat their gingerbread. (and so our house could still smell like gingerbread!) I almost didn’t post this with so many gingerbread cookie recipes floating around, but then I decided I wanted it on the blog for myself so I could remember which recipe was my personal favorite. I’ve tried several recipes in the past that either tasted great, but didn’t hold its shape, or held its shape, but was too crunchy or bland. These classic gingerbread cookies have just the right amount of spice and are slightly crisp on the edges and soft in the middle. For me, these are the perfect gingerbread cookies and the ones that I want to keep on making for years to come.
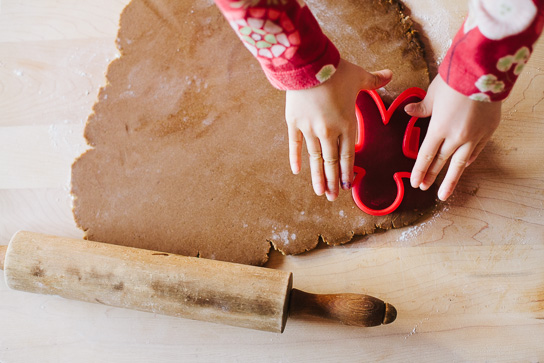
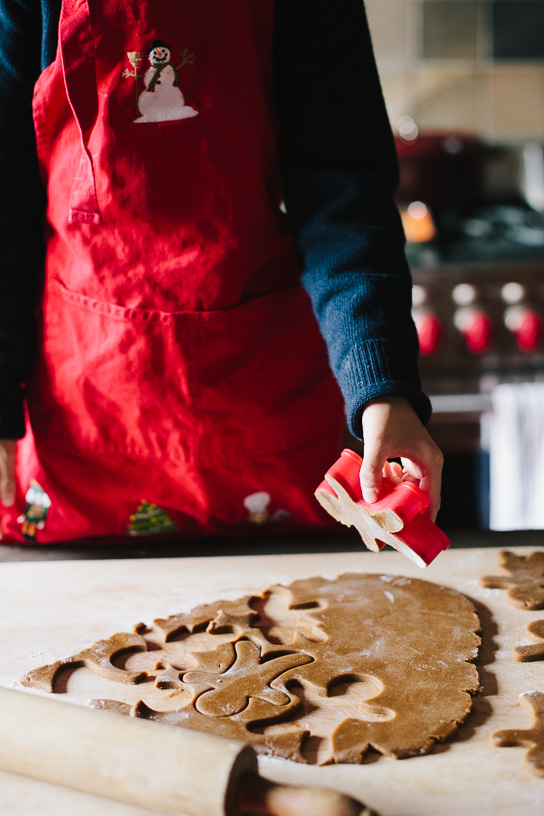
Couldn’t resist adding in these pictures. So thankful for those little helping hands in the kitchen.
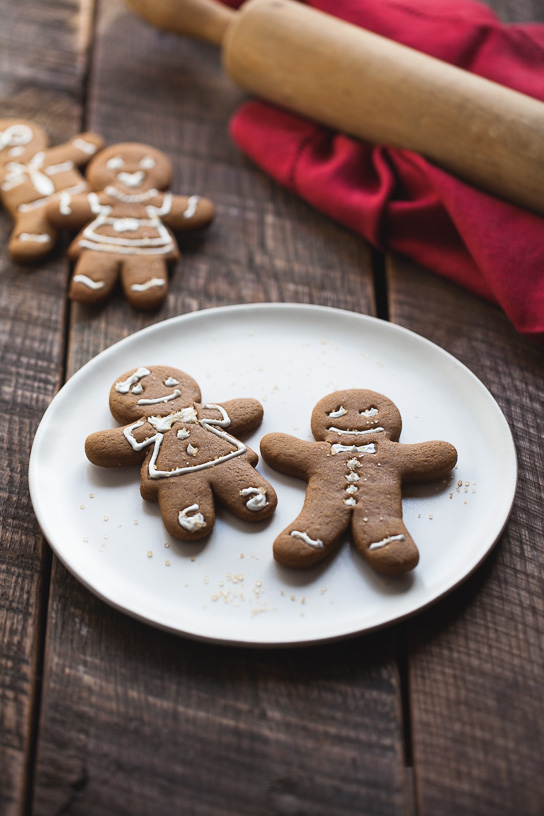
Classic Gingerbread Cookies

- Yield: about 2 dozen cookies
Ingredients
Cookies:
- 1/2 cup dark molasses
- 1/4 cup packed light brown sugar
- 1/4 cup natural cane sugar
- 2 teaspoons ground ginger
- 2 teaspoons ground cinnamon
- 1/4 teaspoon + 1/8 teaspoon baking soda
- 8 tablespoons unsalted butter, at room temperature
- 1 large egg, lightly beaten
- 1 1/2 cups all-purpose flour
- 1 1/2 cups white whole wheat flour
Royal Icing:
- 1 tablespoon meringue powder
- 1 1/3 cups powdered sugar
- 1 tablespoon + 2 teaspoons water
Instructions
Cookies:
- Set a small glass mixing bowl over a small saucepan of simmering water and place the molasses, sugars, ginger, and cinnamon in the mixing bowl. Stir until the sugars are completely dissolved. Stir in the baking soda. When the mixture bubbles up, remove the glass bowl from the heat.
- Place the butter in the bowl of a stand mixer. Add the hot molasses mixture and mix on medium-low speed until butter is melted. Let mixture cool to about 90 degrees, then beat in the egg. Gradually add the flours 1 cup at a time and mix until just combined. Gather dough into a disk and cover with plastic wrap. Chill dough for 30 minutes.
- Preheat the oven to 325. Line baking sheets with silicone mats or parchment paper.
- Place dough on a well-floured surface and roll out until dough is 1/4-inch thick. Cut into desired shapes and place cookies on baking sheets. Chill cookies in the refrigerator for 15 minutes. Bake cookies for about 15 minutes, until tops of cookies appear dry. (Do not over bake or cookies will not be soft.) Cool on racks and decorate with royal icing. (I used a Wilton #2 tip for decorating.)
Royal Icing:
- Beat all ingredients together until icing forms peaks and starts to appear matte, about 7-10 minutes in a stand mixer. If necessary, add additional water a couple drops at a time to thin.
Notes
slightly adapted from The Martha Stewart Cookbook