• Skip to primary navigation
  • Skip to content
  • Skip to primary sidebar

Main navigation

  • Home
  • About
  • Recipes
  • Portfolio
  • Contact
  • Bloglovin
  • Facebook
  • Instagram
  • Pinterest
  • RSS

May 20, 2015

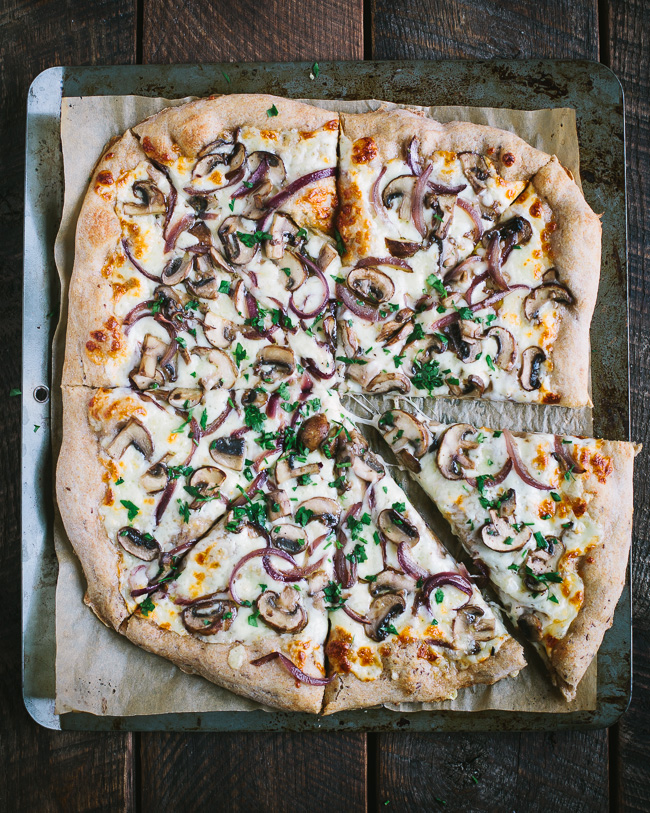
Cremini Fontina Pizza

Cremini Fontina Pizza | Gather & Dine

Pizza Fridays have recently made a comeback at our house, although it’s probably more accurate to say we’re more on an every other Friday routine.  Combined with a movie night, it’s such a pleasant way to unwind, relax, and start the weekend with the kids.  Pepperoni pizza seems to remain everyone’s favorite except mine, but Ryan and the kids have all been good sports about letting me sneak in another variety of pizza here and there.  In terms of my favorite pizzas, I especially love this cremini fontina combination layered with garlic oil and a scattering of red onions.  It’s just a tad more work than pepperoni pizza but completely worth the few extra minutes of preparation.  I slightly adapted Jim Lahey’s no-knead pizza dough to make a whole wheat flax version that has become my go-to recipe for pizza dough.  It’s simple, no-fuss, and the pizza turns out perfectly crusty and chewy every time.  Just remember to start the dough the evening before to allow for an overnight rise.  Here’s to many more family pizza/movie nights to come!

Cremini Fontina Pizza | Gather & Dine

Crimini Fontina Pizza | Gather & Dine

Print

Cremini Fontina Pizza

Cremini Fontina Pizza | Gather & Dine
  • Yield: 3-4

Ingredients

Garlic Oil

  • 2 garlic cloves, minced
  • 1/4 teaspoon crushed red pepper flakes
  • 3 tablespoons olive oil

Pizza

  • 1 tablespoon olive oil
  • 1 garlic clove, minced
  • 3/4 cup sliced red onion, about 1 small onion
  • 8 ounces cremini mushrooms, sliced
  • 8 ounces mozzarella cheese, shredded
  • 4 ounces fontina cheese, shredded
  • chopped fresh parsley for garnish, optional
  • 1/2 recipe No-Knead Pizza Dough (see recipe below)

Instructions

Garlic Oil

  1. In a saute pan, mix the garlic, red pepper, olive oil, and dash of salt. Warm over low heat for 10 minutes. Stir occasionally and do not allow the garlic to brown. Transfer to a small bowl and set aside.

Pizza

  1. Preheat oven to 500. If using a pizza stone, preheat stone as well. (Ideally pizza stone should be preheated for an hour. This truly does make a difference.)
  2. Using the same pan, heat olive oil over medium heat. Add the garlic and onion and saute until onion begins to soften, about 2-3 minutes. Add mushrooms, season to taste with salt and pepper, and cook until most of the liquid has evaporated, another 4-5 minutes.
  3. Place dough on a lightly floured surface or parchment paper. Gently stretch and shape pizza dough to a 12″-14″ circle. Brush a layer of garlic oil over entire crust.
  4. To assemble, layer the mozzarella and fontina cheeses followed by the mushroom onion mixture.
  5. Bake for 8-10 minutes, until cheese is bubbly and begins to brown. Garnish with chopped fresh parsley, if desired.
Print

No-Knead Whole Wheat Flax Pizza Dough

Cremini Fontina Pizza | Gather & Dine

Ingredients

  • 550 grams all-purpose flour, about 4 cups
  • 270 grams whole wheat flour, about 2 cups
  • 2 tablespoons ground flax seed
  • 2 1/2 teaspoons salt
  • 1/4 + 1/8 teaspoon active dry yeast
  • 2 1/2 cups water

Instructions

  1. In a large bowl, whisk all ingredients together except water. Gradually add water and stir with a wooden spoon until all of the flour is incorporated. Use hands if necessary to bring dough together. Cover bowl with plastic wrap and let rise at room temperature for 18-20 hours. Dough should double and appear bubbly when ready. Divide and form dough into 2 mounds. Cover with plastic wrap and allow dough to rest another 20-30 minutes, until dough is pliable.
  2. This makes enough for 2 12″-14″ pizzas. I usually use half of the dough on one day and freeze the remaining half for another day.

Notes

adapted from Jim Lahey’s No Knead Pizza Dough

Continue Reading

May 13, 2015

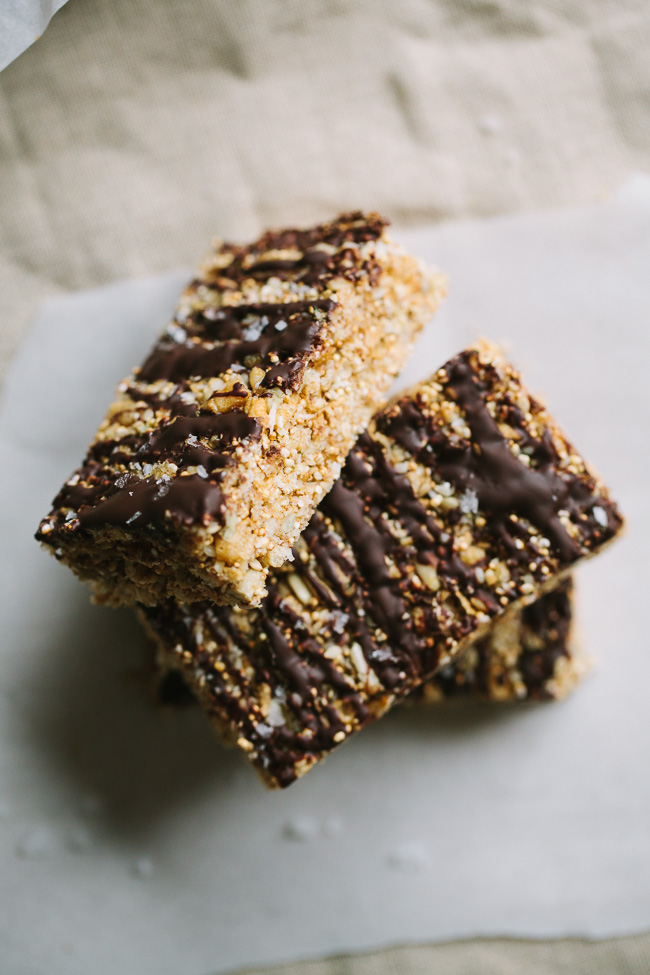
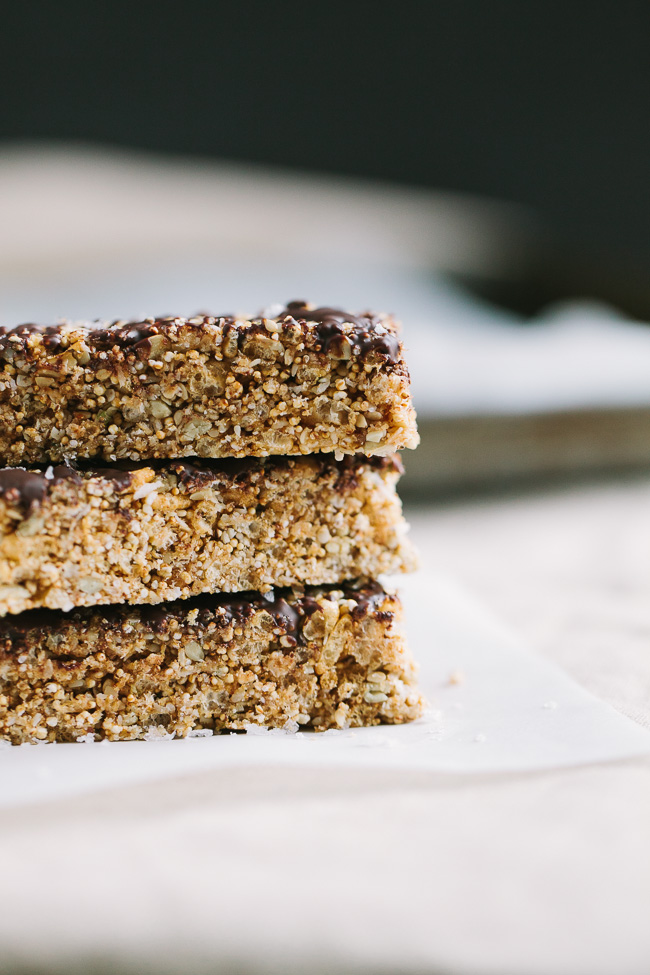
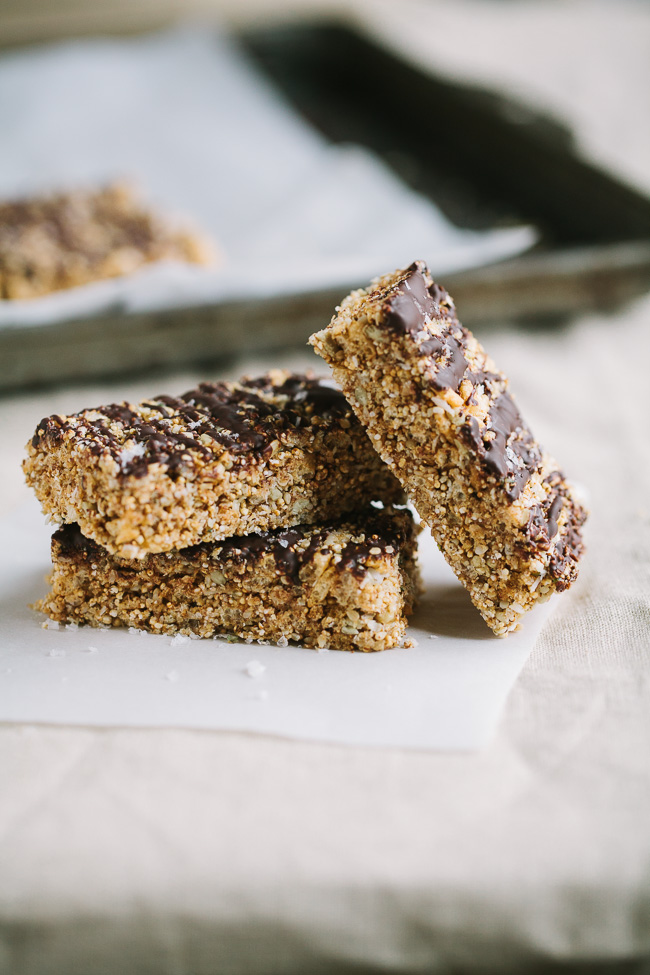
Puffed Amaranth Crispie Bars {with Drizzled Dark Chocolate and Sea Salt Flakes}

Puffed Amaranth Crispie Bars | Gather & Dine

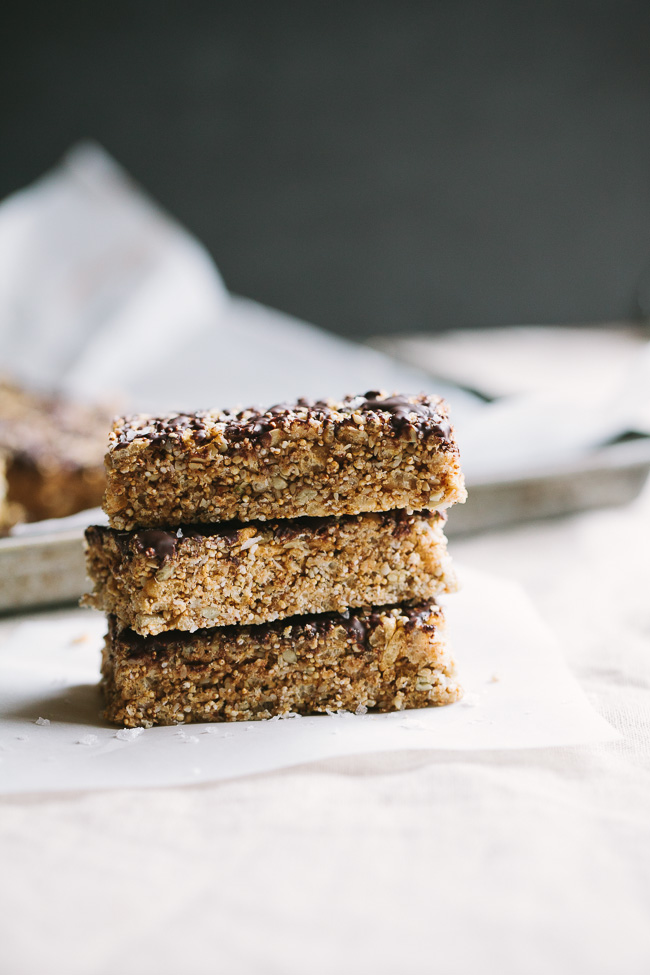
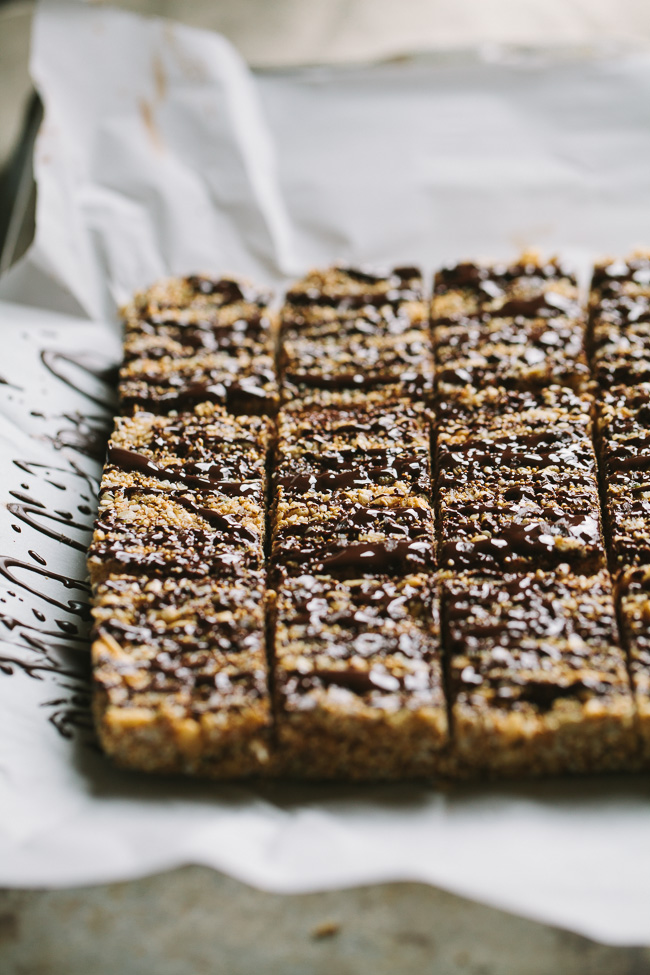
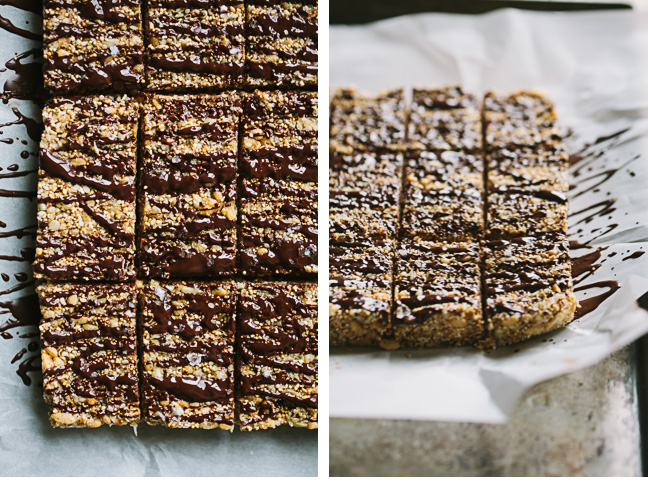
It was recently teacher appreciation week at my son’s school and I signed up to bring a sweet treat for “dessert bar” day.  Deciding on what dessert to bring to events is always tough for me.  Not because I can’t think of anything to bring, but my mind is always too full of ideas for what to bring.  This time I wanted something sweet, salty, bite-size, and relatively healthy.  I came up with these puffed amaranth crispie bars and felt so happy about being able to share with all of the hardworking teachers at school.  These no-bake bars are chewy and crispy, bound together with a blend of almond butter and honey, and finished with a drizzle of dark chocolate and a sprinkle of salt.  Amaranth, rich in nutrients and containing all of the essential amino acids, has recently made its way into our kitchen and I have been loving this supergrain.  The amaranth along with sunflower seeds, hemp seeds, and sesame seeds deliver a bit of crunch while the brown rice crisps make these bars crispy and light.  Enjoy these for dessert, snack, or even as a quick breakfast.

Puffed Amaranth Crispie Bars | Gather & Dine    Puffed Amaranth Crispie Bars | Gather & Dine Puffed Amaranth Crispie Bars | Gather & DinePuffed Amaranth Crispie Bars | Gather & DinePuffed Amaranth Crispie Bars | Gather & Dine

Print

Puffed Amaranth Crispie Bars

Puffed Amaranth Crispie Bars | Gather & Dine
  • Yield: 15 2x1 1/2-inch bars

Ingredients

  • 3/4 cup puffed amaranth (see note)
  • 1 1/4 cup brown rice crisps
  • 1/2 cup unsweetened shredded coconut
  • 1/4 cup sunflower seeds
  • 1/4 cup hemp seeds
  • 1/4 cup sesame seeds
  • 1/3 cup creamy almond butter
  • 1/3 cup honey
  • 1 tablespoon coconut sugar
  • 1/4 teaspoon fine grain sea salt
  • 1 teaspoon vanilla
  • 1 1/2 ounces dark chocolate
  • flaky sea salt for finishing, such as Maldon

Instructions

  1. Line an 8×8 pan with parchment paper.
  2. In a large mixing bowl, add the puffed amaranth, brown rice crisps, coconut, sunflower seeds, hemp seeds, and sesame seeds. Stir with a wooden spoon until combined.
  3. In a small saucepan, stir the the almond butter, honey, coconut sugar, and salt together over medium-low heat until sugar and salt are dissolved, about 5 minutes. Turn off heat and stir in vanilla.
  4. Working quickly, pour the almond butter mixture over the amaranth mixture and mix together until thoroughly combined. Use the back of a rubber spatula or lightly oiled hands to press the mixture firmly into prepared pan. Chill until firm, at least an hour.
  5. Set a small glass mixing bowl over a small saucepan of simmering water and place the chocolate in the mixing bowl. Stir until the chocolate is completely melted and smooth. Use the parchment paper to lift bars out of the pan and onto a work surface. Use a teaspoon to drizzle the chocolate. Wait a few minutes for chocolate to begin to set and then lightly sprinkle sea salt flakes over the chocolate. Return to the refrigerator and wait for chocolate to completely set, about 20 minutes, before cutting into bars. These are best stored in the refrigerator in an air-tight container.

Notes

To make puffed amaranth, preheat a large skillet over medium high heat for 2-3 minutes. (Do not use a small pot or saucepan. Even though the amaranth seeds are tiny, they need quite of bit of space in order pop properly.) Add amaranth 1 tablespoon at a time. Cover immediately and give the pan a quick shake to distribute the seeds evenly. The amaranth should begin popping right away if the pan is hot enough. Give the pan a quick shake every 3-4 seconds. After the popping begins to slow (usually around 12-15 seconds), remove pan from heat and allow amaranth to continue popping off heat for another few seconds. It’s better to leave some seeds unpopped than to burn the whole batch. The unpopped seeds can be used along with the popped seeds. Transfer the popped amaranth into another bowl to cool and repeat with remaining amaranth. 3 tablespoons of amaranth will yield slightly more than 3/4 cup of puffed amaranth. Sprinkle the extra on granola, cereal, etc.

Inspired by At Home in the Whole Food Kitchen


Continue Reading

May 6, 2015

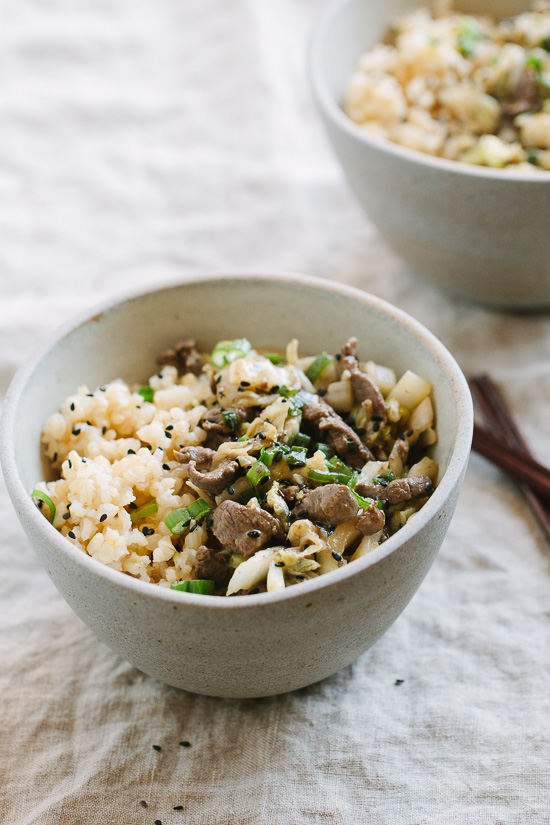
Sirloin and Napa Stir-Fry

Sirloin and Napa Stir Fry | Gather & Dine

I attribute all that I know about Chinese cooking to my mother and her hard work in the kitchen, always wanting to nourish our family.  I don’t recall any formal cooking lessons or even ever helping out all that much while she cooked, but somehow along the way I learned from her.  She knows how to throw together elaborate meals without using recipes or instructions.  For a while Chinese cooking was the only type of cuisine that I’d be brave enough to attempt without a recipe.  It’s how I started learning to trust my own intuition and instincts at the stove, making adjustments as I went along.

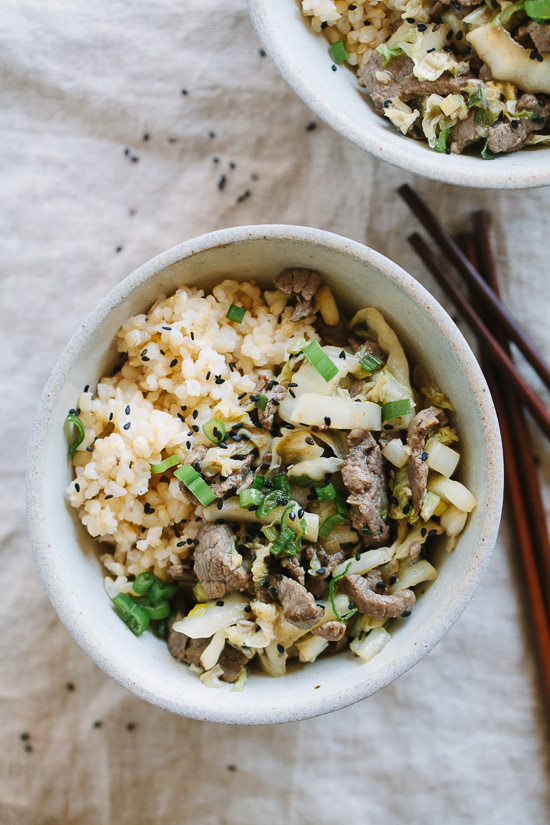
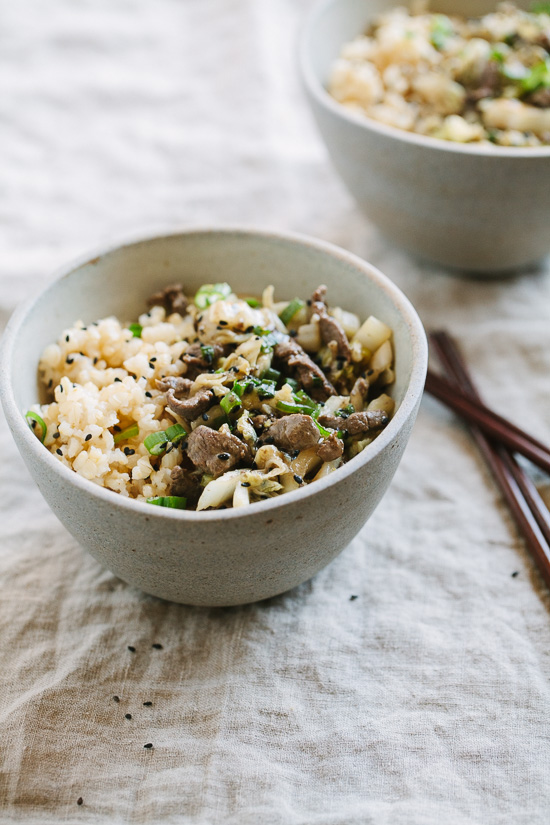
Chinese stir-fries are frequent dinners for us and I’ve decided to share this sirloin and napa stir-fry because it’s simple and makes a great base recipe for creating other stir-fries.  It’s also one of the few ways my kids will eat cabbage and I always feel victorious when my kids willingly branch out from the usual broccoli, spinach, and peas.  An entire head of cabbage may seem like a lot at first, but it shrinks down considerably as it cooks.  When stir-frying beef, always be sure to place the meat in the freezer for 30 minutes before slicing in order to make slicing the meat easier.  Also, slicing thin and across the grain leads to more tenderness by relaxing the muscle fibers of the meat. Once all of the ingredients are prepped, stir-frying is generally pretty quick.  I kept this one fairly minimalist by using only sirloin, onions, and napa, but you could also add carrots, broccoli, peppers, or whatever other vegetables you may have on hand.

As we gear up to celebrate Mother’s Day, I am especially thankful for my own mom and for the multitude of things I have learned from her.  This post is dedicated to you, Mom!

Sirloin and Napa Stir Fry | Gather & Dine

Sirloin and Napa Stir Fry | Gather & Dine

Sirloin and Napa Stir Fry | Gather & Dine

Print

Sirloin and Napa Stir-Fry

Sirloin and Napa Stir Fry | Gather & Dine

Ingredients

Marinade

  • 1/4 cup tamari or soy sauce
  • 1 tablespoon honey
  • 1 1/2 tablespoons sherry
  • 1 tablespoon sesame oil
  • 2 cloves garlic, minced
  • 3 scallions, thinly sliced, about 1/2 cup
  • 1 tablespoon black sesame seeds
  • 1/8 teaspoon ground black pepper

Stir-Fry

  • 1 1/2 pounds sirloin or flank steak, thinly sliced against the grain
  • 1 small yellow onion, halved and thinly sliced
  • 1 head napa cabbage, about 2- 21/2 pounds
  • 2 tablespoons neutral oil with a high smoke point, divided
  • 2 cloves garlic, minced
  • 3/4 cup water mixed with 2 teaspoons cornstarch or arrowroot
  • additional scallions and sesame seeds for garnish

Instructions

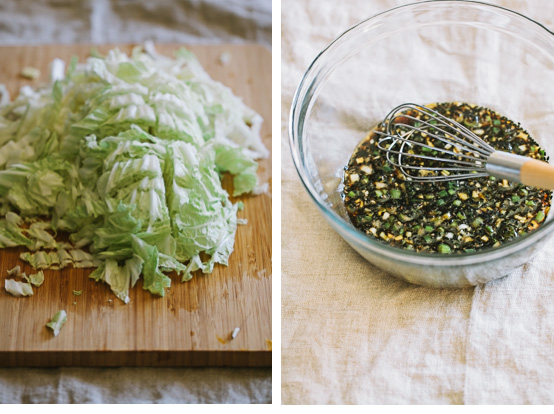
  1. In a medium bowl, whisk together marinade ingredients. Add sliced sirloin, mix together, and marinate for at least 20 minutes.
  2. Pull and discard any damaged outer leaves from the cabbage. Cut the bottom off the cabbage and slice in half lengthwise. Cut each half lengthwise again so that you have 4 quarters. Slice each quarter crosswise into shreds, about 1/2-inch thick.
  3. Heat a large skillet over high heat. Add 1 tablespoon oil and heat for a few seconds. Stir in minced garlic and heat until fragrant, about 30 seconds. With a slotted spoon, remove beef from the marinade and add to the skillet, reserving the marinade. Stir-fry beef just until it turns pink, about 1-2 minutes. Transfer beef to a bowl and briefly set aside.
  4. Heat remaining tablespoon of oil. Add onions and stir-fry until onions begin to soften, about 3-4 minutes. Add the cabbage and stir just until cabbage wilts, about 3-4 minutes. Return beef back to the skillet, along with the reserved marinade and water cornstarch mixture. Stir until sauce thickens and beef is cooked through. Season to taste with additional salt and pepper. Serve with rice and garnish with additional scallions and sesame seeds.

Notes

*If you prefer a dryer stir-fry with less sauce, reduce the amount of water.


Continue Reading
  • « Previous Page
  • Page 1
  • …
  • Page 37
  • Page 38
  • Page 39
  • Page 40
  • Page 41
  • …
  • Page 75
  • Next Page »

Primary Sidebar

wholesome recipes

made for sharing

browse

posts

Categories

Archives

Your

favorites

  • Greek-Marinated Pork Tenderloin with Tzatziki
  • A Very Simple Ice Cream Cake
  • Homemade Spelt Pasta
  • Pesto Chicken Lasagna

Subscribe

by email

Follow

on instagram

© GATHER AND DINE 2025. SITE DESIGN BY WOODEN SPOONS KITCHEN